How to Make Time Lapse Videos from Photos: A Comprehensive Guide
Creating mesmerizing time lapse videos from photographs can breathe life into your static images, turning them into visually stunning narratives. Whether you're a photographer, a real estate videographer, or a creative individual looking to expand your artistic expression, this guide will delve into the process of making time lapse videos from photos and how you can excel at it.
What is Time Lapse Photography?
Time lapse photography is a cinematic technique that involves taking a series of photographs at set intervals to record changes that take place slowly over time. When played at normal speed, the film appears to be moving much faster, allowing viewers to witness a compressed view of time. This technique is widely used in various fields, from nature documentaries to real estate showcases and architecture presentations.
Why Make Time Lapse Videos?
- Engagement: Time lapse videos are visually captivating and can hold the viewer's attention more effectively than static images.
- Storytelling: They allow for storytelling in a unique and innovative way, particularly useful in real estate and event photography.
- Demonstration: Time lapse can demonstrate processes and transformations, making it an effective tool for tutorials and presentations.
Understanding the Basics of Time Lapse Photography
Before diving into the steps of making a time lapse video from photos, it’s essential to grasp some foundational concepts:
Equipment Needed
To create a stunning time lapse video, you will need the following equipment:
- Camera: A DSLR, mirrorless, or high-quality smartphone camera can yield excellent results.
- Tripod: To ensure stability and consistency between shots.
- Intervalometer: A device that controls the time intervals between shots (some cameras have this built-in).
- Lighting Equipment: Optional, depending on your photography conditions.
- Editing Software: Software such as Adobe Premiere Pro, Final Cut Pro, or apps designed for timelapse creation.
Preparation for Your Time Lapse Project
Good preparation is key. Here are the steps to get started:
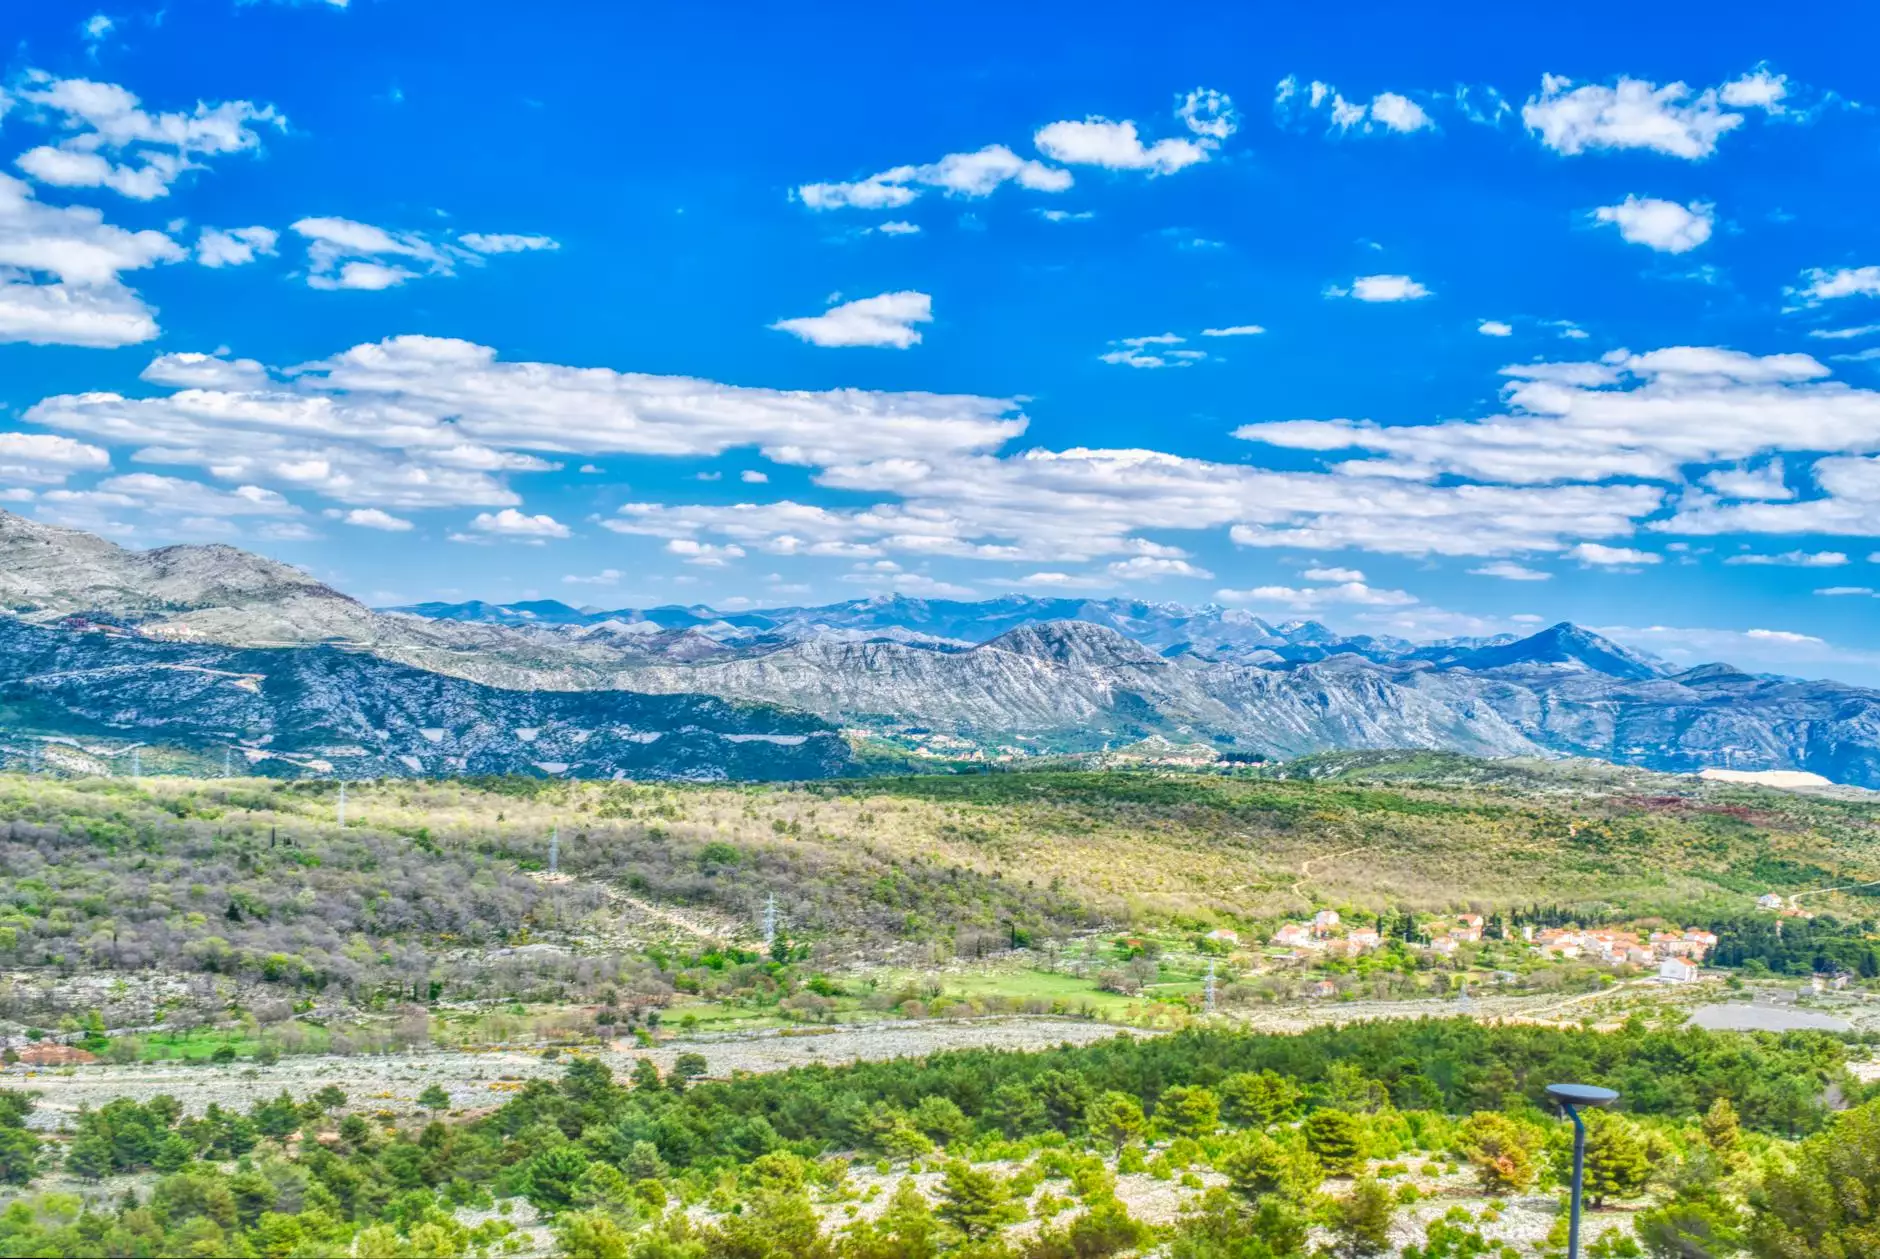
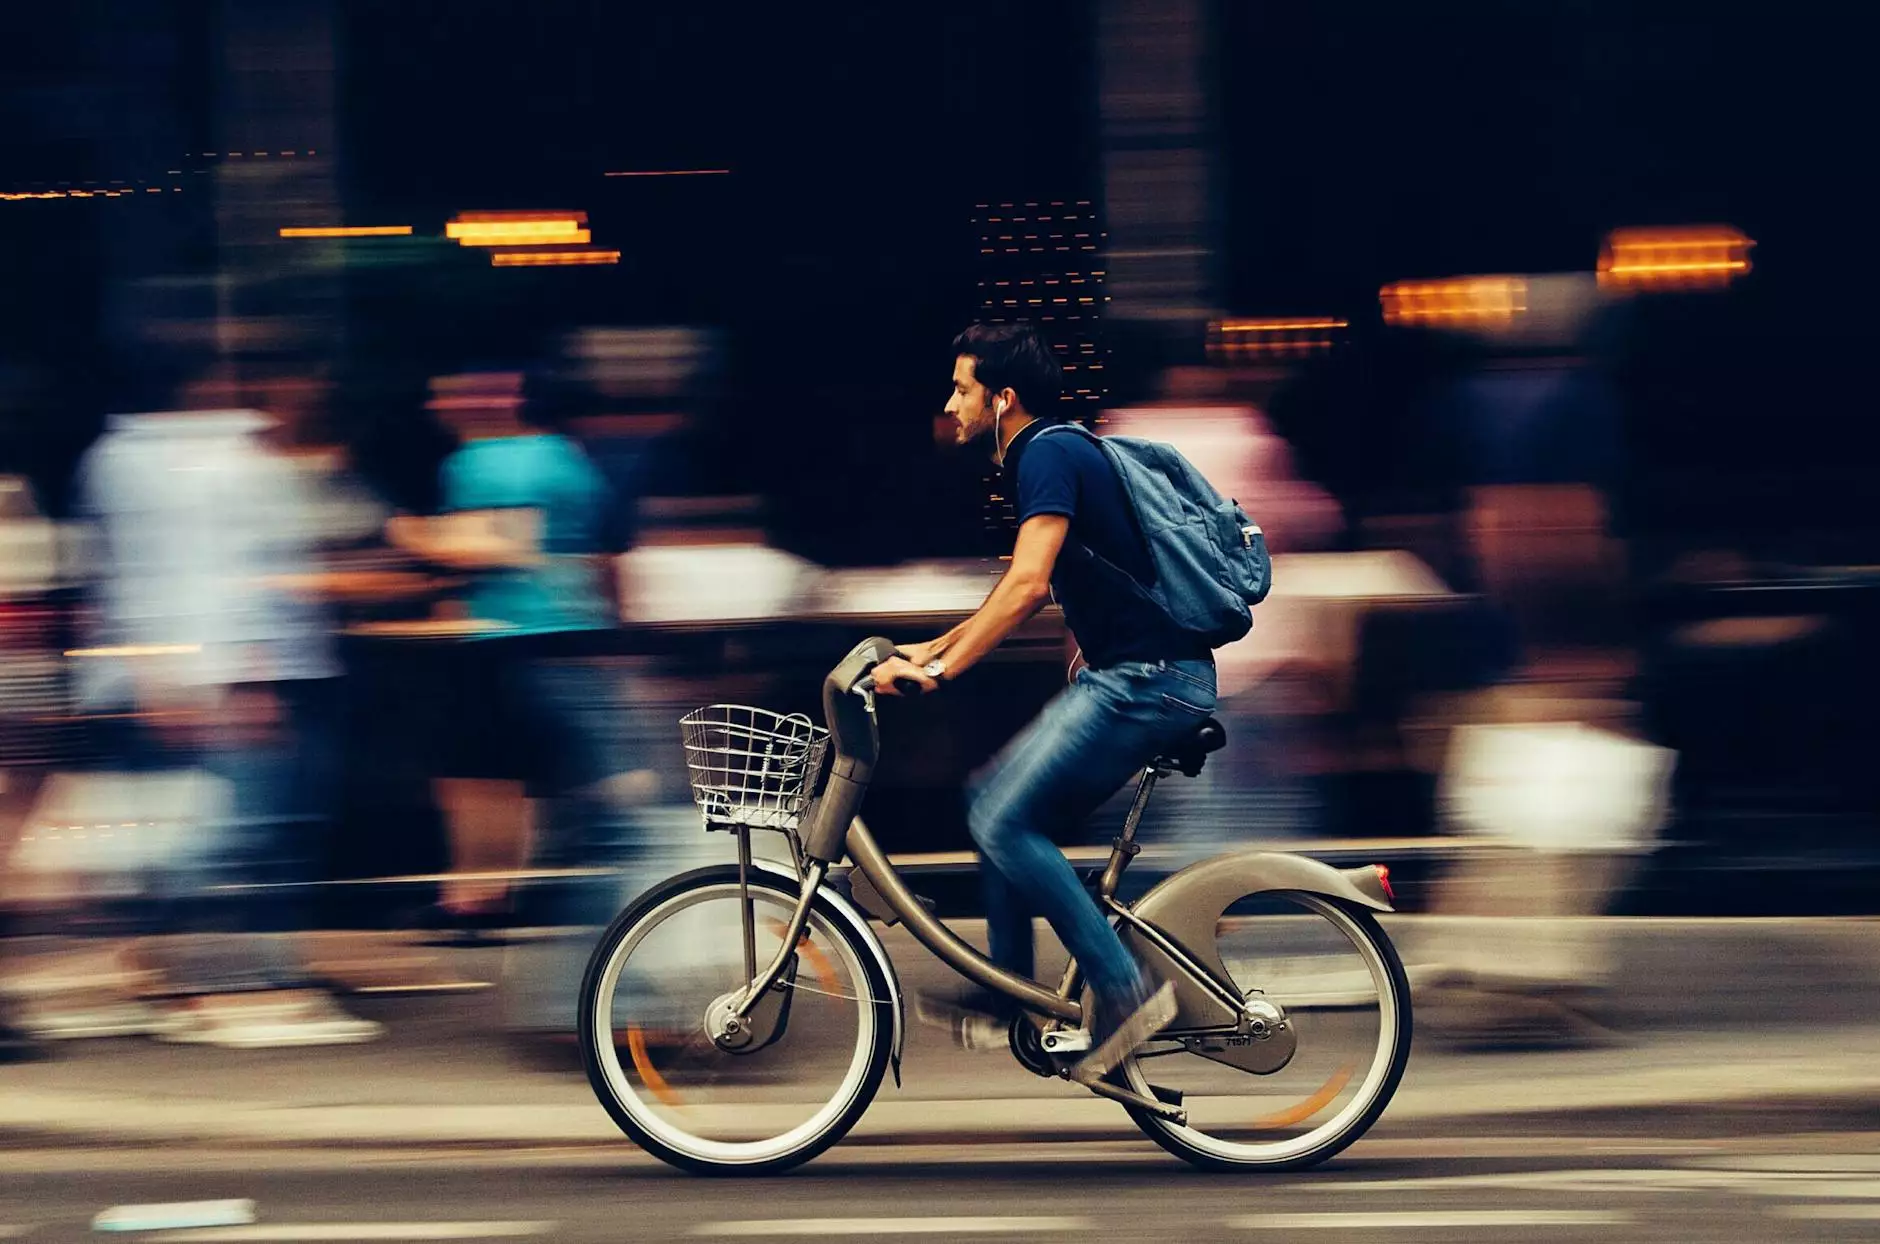
- Choose Your Subject: Decide on the subject you want to capture. This could be a sunset, blooming flowers, a busy street, or the construction of a building.
- Select the Right Location: Ensure you have a spot with a good view and minimal obstructions, and check the lighting conditions.
- Plan Your Shooting Interval: Depending on the subject, determine how frequently you should take photographs (every few seconds to a few minutes).
Steps to Make Time Lapse Videos from Photos
1. Setting Up Your Camera
After you have prepared your subject and location, it’s time to set up your camera:
- Use Manual Mode: Set your camera to manual mode to maintain consistent exposure throughout the shoot.
- Set Your Aperture: Choose an aperture that provides a clear image without overexposure or underexposure.
- Adjust ISO Settings: Keep your ISO low to reduce noise, particularly for larger apertures.
- White Balance: Set the white balance manually to avoid color changes during the shoot.
2. Capturing the Photos
Now that your camera is set up, you can start capturing photos:
- Start the Intervalometer: Use your intervalometer to trigger the camera at your chosen intervals.
- Watch for Changes: Keep an eye on the scene and ensure that your subject is still engaging over time.
- Stay for the Duration: If shooting outdoors, it may take time, so remain patient while you capture every frame.
3. Compiling the Photographs
Once you’ve shot your series of images, it’s time to compile them into a video:
- Transfer Images: Transfer your photos to your computer and organize them in chronological order.
- Select Editing Software: Choose software that fits your experience level; for beginners, simpler options like iMovie or specialized time lapse apps can be ideal.
- Import Photos: Import your series of photos into the software and set the frame rate for your video.
4. Editing Your Time Lapse Video
Edit your time lapse video for a polished finish:
- User Command on Timing: Adjust the timing to control how fast your images transition.
- Add Music: Enhance your video with a background score that complements the visuals.
- Add Titles and Effects: Include any titles, captions, or visual effects that will enrich your storytelling.
5. Exporting and Sharing Your Video
Finally, export your completed video and share it:
- Choose Export Settings: Select the appropriate format and resolution based on your platform choices.
- Upload to Social Media: Consider sharing on platforms like Instagram, YouTube, and Vimeo for maximum reach.
- Engage Your Audience: Include captions with engaging descriptions to attract views.
Best Practices for Making Time Lapse Videos
Here are some best practices to enhance your time lapse videos further:
Maintain Consistency
Consistency in camera settings is crucial. It's essential for ensuring that the light and exposure levels remain constant throughout the recording period. Small changes can result in noticeable jumps in your final video.
Test Before Shooting
Try test shots with varying intervals and settings to identify the best approach for your subject. Observation helps you understand what works best for the specific scene you’re capturing.
Post-Production Enhancements
Take advantage of post-production tools to enhance color grading, stabilize shaky footage, and give your video a professional touch.
Applications of Time Lapse Videos in Business
The integration of time lapse videos in various business sectors is undeniable. Here’s how they can be beneficial:
Real Estate Photography
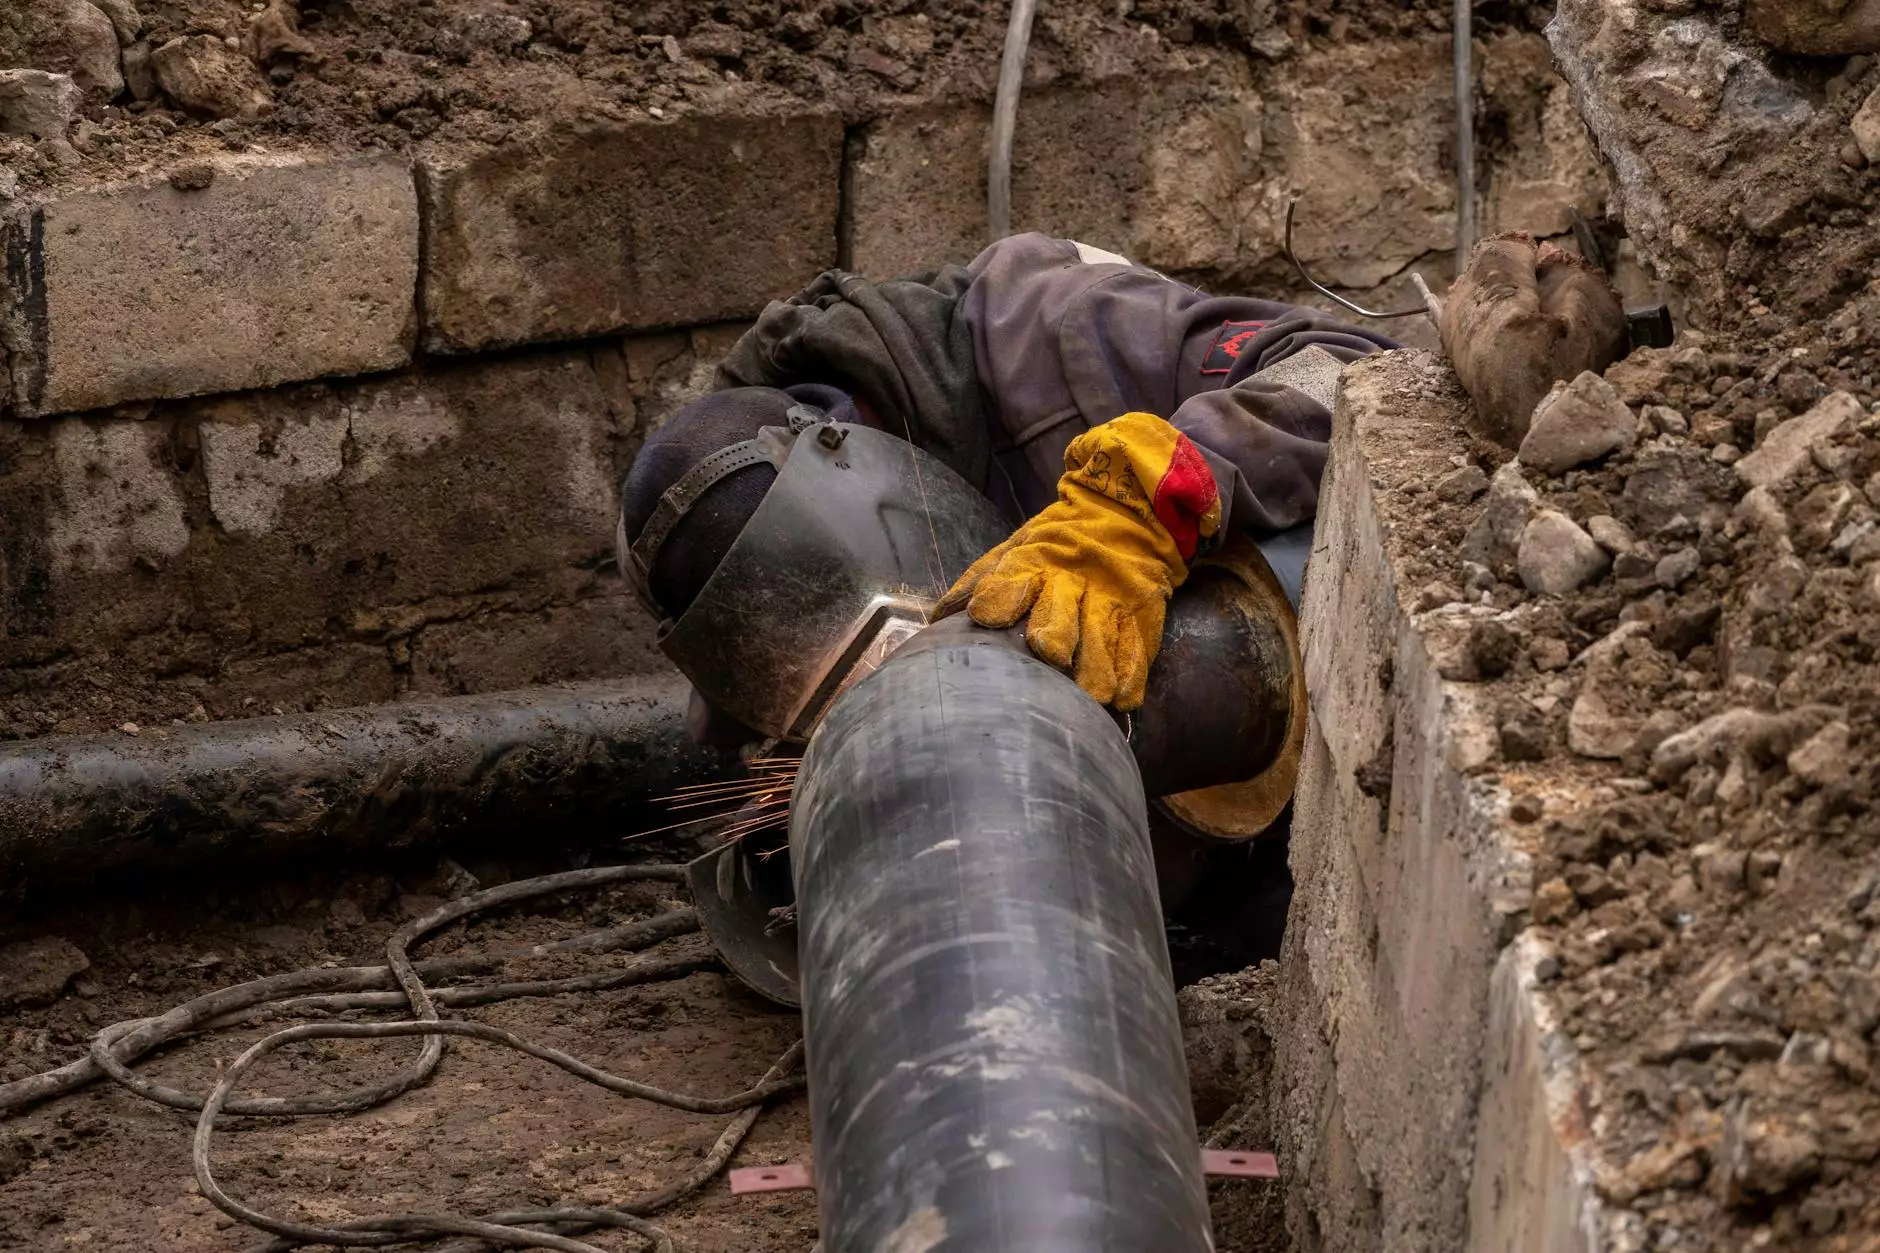
For real estate professionals, utilizing time lapse videos can vividly showcase property transformation, whether it’s renovations or the building process. Potential buyers are often more engaged with dynamic visual content that tells a story.
Marketing and Branding
Marketers leverage time lapse videos to depict product development or brand evolution effectively. This content resonates deeply with audiences, fostering a connection and improving brand recall.
Event Promotion
Businesses can use time lapse to capture the essence of an event or trade show, highlighting activities and interactions to promote future events.
Conclusion
Learning how to make time lapse videos from photos opens a world of creative possibilities that can transform your approach to photography and videography. With the right equipment, vision, and patience, anyone can create striking time lapse videos that captivate and engage viewers. At Bonomotion, we encourage you to explore this artistic medium and take your photography skills to the next level.
So, pick up your camera, plan your next project, and start capturing the beauty of time through your lens!
make time lapse video from photos